The Nest Thermostat has become increasingly popular, as it is an electronic, programmable, self-learning thermostat that is essentially in charge of regulating the heat within your home or work space.
People love it because this thermostat learns to know what you need at each given time, and changes up the heat accordingly.
There are different Nest Thermostat models, as there are three generations, but they all come with an in-built battery, so that you don’t have to worry about putting one in yourself.
The problem is, sometimes the battery can fail or cause some issues. One of the most common issues is for the battery to constantly display as low, meaning you don’t quite know where the battery truly stands at.
If this is the case, there’s no need to panic, and no need to instantly replace your entire Nest Thermostat. We can help you fix this problem, so that you can go back to enjoying the regulated temperature.
We’ll cover all the important basics, and everything you need to know. You’ll practically be an expert by the end of this! So let’s get started.
What is the Nest Thermostat Battery for?
Let’s start by explaining exactly what the Nest Thermostat Battery is for, and why it’s important to fix it up and have it in working conditions. That way you’ll know if you need to fully prioritize this, or if there are other issues that need tending.
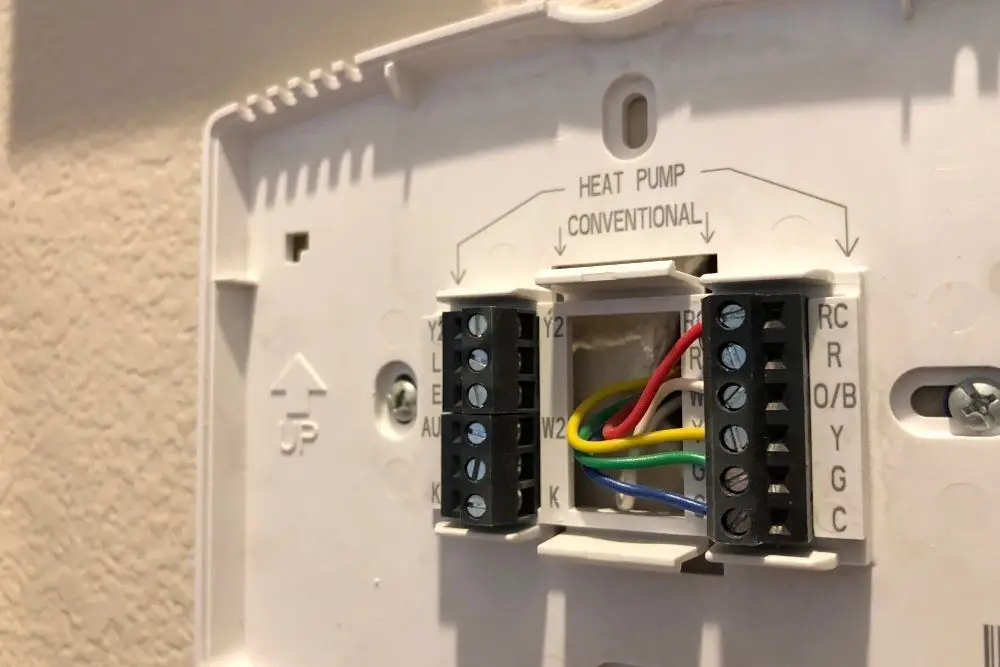
The Nest Thermostat battery is designed so that it is charged directly from your HVAC system, through the Rh and Rc wires. A C-wire is also commonly used to complete the circuit if needed.
This system then provides a continuous flow of power, so that the thermostat battery is fully charged.
The reason why this is such a good design, is that the battery can then power the Nest interface, even when the HVAC unit is powered off.
So if there is a power cut, or a similar issue, the system of wires should still have enough power running through it, and the battery should still remain charged to power the thermostat.
All the functions of the Nest Thermostat are powered through the battery, so the battery is needed in order to keep it working.
The battery needs to be working properly, so that it can keep powering the thermostat even through power outages, meaning your house will be able to maintain a suitable temperature.
Having the battery display constantly as low is a significant issue, as you will not know for sure whether it is truly low, or fully charged but displaying wrong.
And if the battery is low, it means it isn’t charging properly, which is a problem, as it could stop powering the thermostat at any given moment.
If the battery shows up as low, what is happening?
If your Nest Thermostat is displaying a warning for low battery, then your Nest thermostat battery is running out of charge, for some reason. This might also be showcased through a blinking red light, which indicated the low battery status.
You can also tell that the battery is low on charge if the thermostat starts acting odd, or inefficiently. Here are some of the signs to watch out for:
- The connection between the Nest thermostat and your WIFI is beginning to fail
- The display tool of your Nest thermostat might not be showing anything, or might be unresponsive, as there is not enough battery to power this function
- It is unable to properly regulate the temperature of your home, as the system is failing due to low charge
If you get the low battery message from your thermostat, you should immediately charge it manually via a USB, so that it has enough battery to keep working while you figure out the issue and solve it.
Next, you will have to find a way to charge the thermostat battery, in a permanent way, so that it can be back up and running as usual. We’ll look at that next.
How to charge a Nest Thermostat Battery:
If the system is working correctly, the Nest Thermostat should always be fully charged, thanks to the Rh and Rc wiring connected to the HVAC unit, meaning you will never have to charge it yourself.
The Nest Thermostat will essentially be self-sufficient, you just have to make sure it remains that way.
So while the HVAC system is on and running, the thermostat will continuously charge itself, and you have nothing to worry about. If the HVAC is offline, then the thermostat will rely on the battery power that it has amassed.
But if the HVAC is offline for a prolonged amount of time, the thermostat itself will try to cause the unit to cycle on and off, in an attempt to keep the battery charged.
This means that it’s overall pretty hard to ever find your thermostat battery in the low.
So if you do find that your Nest Thermostat has a low battery warning, then this means that the battery is unable to charge itself, or perhaps it has completely failed and is no longer working. And this is something that needs to be fixed.
There are a few different things you can check and do in order to fix this issue, so let’s go over them all:
Make sure the thermostat is connected to the base:
Sometimes the problem is as simple as the thermostat not being properly placed on the base. If this is the case, then the thermostat is unable to connect to the power because the connectors are not properly aligned, and power cannot flow through.
This tends to happen if someone has accidentally bumped into the thermostat, and slightly moved it from its position.
The solution is super easy, just make sure the thermostat is re-positioned properly, so that everything aligns and the power can once again flow through!
Manually charge the thermostat:
If your thermostat is on really low charge, and you need to get it to work as soon as possible, kind of like in an emergency situation, then you can manually charge it yourself through the use of a USB port.
This solution, however, is temporary. The thermostat will be low on charge soon enough, and will need to be charged again, and this isn’t something you can keep on doing.
But charging it manually might just give you enough time to figure out the problem and solve it, all while the thermostat continues to work.
For this, you can use a Mini-USB or a Macro-USB, and charge the thermostat for about one to two hours.
Use a C-wire:
Having a C-wire within the chagrin system can help provide a constant flow of power, so that your thermostat battery is never again on low.
If you already have a C-wire installed, then double check that it is properly connected, and placed in the proper terminal. As soon as it is corrected, power should flow.
If you don’t already have a C-wire installed, then you can install one. This can be done in a few different ways:
- Hardwire a C-wire, directly or indirectly
- Install a C-wire transformer
- Hijack the G-wire and use it as a C-wire
These can be a bit tricky if you have no experience with wire systems, so it might be worth getting someone with a little more knowledge to do the job! (That, or watching a few youtube videos beforehand, and going down the DIY route).
Replace the battery:
If you’ve solved all of the wiring issues, and the thermostat is in position, and everything is properly connected…but the battery is still on low, then the problem is the battery itself. It might be old, or broken, and for some reason it no longer is able to hold any charge whatsoever.
If you are still within the warranty time period, you can get the battery unit replaced, and the thermostat will go back to working. If the warranty has long past, then you can still get the battery unit replaced, but at your own personal cost.
How long does a Nest Thermostat Battery last?

The battery of your Nest Thermostat is pretty important, as it keeps the system powered and keeps everything running, so that the temperature of your home can be regulated and maintained. But how long does a Nest Thermostat Battery last?
As in, will you have to replace them often, or are they pretty durable?
The overall lifespan of the thermostat battery depends on the charge that it receives, and how it is being used.
If it is getting a constant stream of power from the HVAC system, and everything is in working order, then the battery should last a good 5 to 10 years, without causing any issues whatsoever.
But if there are any issues, and strain is placed on the battery, it might fail after just 2 years or so!
When it is not receiving constant charge from the HVAC system, the internal battery should last between a few hours to a couple of days, depending on the amount of power that it has stored.
If you’re unsure of whether your thermostat battery is high or low, then you can always manually check its levels. Here is how to do that:
- First, press and hold down on the thermostat ring, until the quick view menu is displayed
- Go to settings, then technical info, and then select power
- If the battery is on 3.7V or higher, it should be fine. If the battery is below 3.7V, then the low battery indication should be displayed.
Can you replace a Nest Thermostat Battery? How?
Nest thermostat batteries come built-in, but they can indeed be replaced. In fact, after a few years of use, the battery will become old and faulty, and will need replacing in order for the thermostat to keep on working at optimal capacity.
If you need to replace the battery within the warranty period, due to a fault, then it will likely be replaced free of cost. In any other scenario you will likely have to buy a new battery for a replacement.
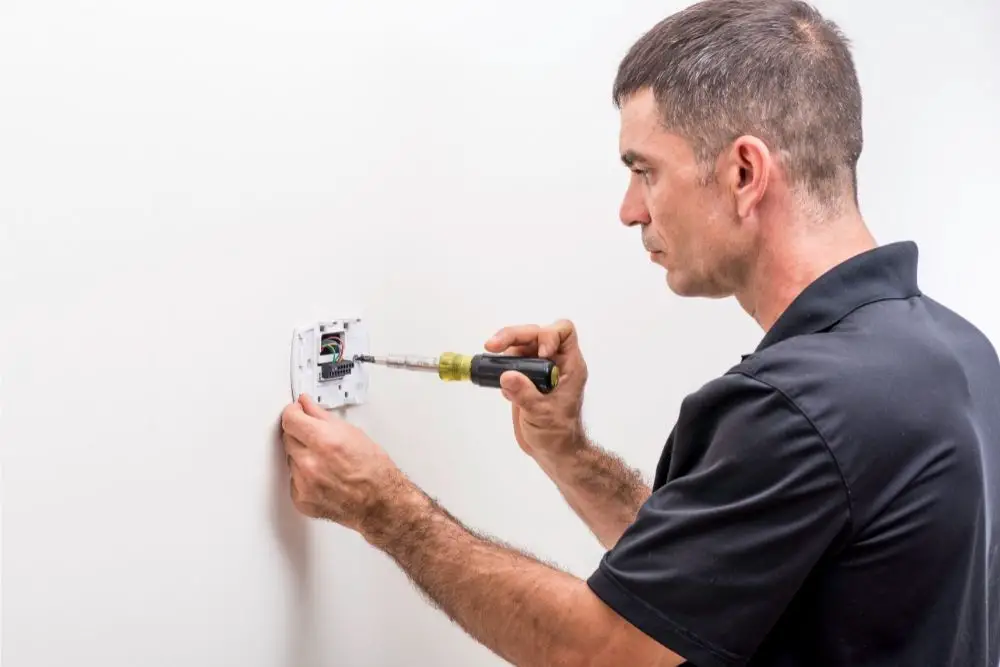
If you aren’t experienced in thermostats or wired systems or batteries, then it’s best you don’t try to replace the battery yourself, as you could accidentally harm the system and cause damage.
Instead, it is recommended that you get a professional to replace the battery, or at the very least you ask for help from someone with some level of experience.
But if you’re confident enough in your skills, and you’re ready to do it yourself, then this is how you replace the thermostat battery:
- Grab hold of the display’s metal outer ring and pull it off the base, gently
- Remove the 6mm screws from the back of the display
- Pull the 20-pin connector off the metal plate, gently
- Disconnect the ribbon cable
- Lift the battery out and replace it with the new one
- Reassemble everything and check that it is in working order
In Conclusion:
The Nest Thermostat battery is really important, as it powers the thermostat and keeps it working properly. If the battery is showing up as low, then the battery is not charging, or is unable to hold charge.
You need to identify the problem, and then fix it, so that you can get the battery to work again, and the thermostat goes back to working as usual.


